After literally years of planning, I’m finally underway with my journey to a “Net Zero” energy house. Efficiency Vermont thinks any house can get to net zero, but only certain homes can do it at a reasonable cost. I’m trying to do it at the most reasonable cost possible.
Net zero is the balance between the power a home needs and the renewable energy you can generate to match the need. With new heating technology and lower-cost renewable energy systems, any home can get to net zero.
Efficiency Vermont
From a very global perspective, I have done some detailed analysis of my home’s energy usage and potential. This house was selected as a decent location for eventual solar panels. Prior to installing those, I’m working on efficiency and removing the usage of fossil fuels (natural gas).
Phase 1: Kitchen Remodel
My phase 1 project is to remodel my kitchen which includes switching from a Gas Range to an Electric Induction Cooktop and a small Wall Oven, and also to replace my Gas Water Heater with a Hybrid Electric Water Heater.
On September 29th, I had the natural gas line to my gas range deactivated and capped. I have spent many many hours trying to figure out the best path forward on this journey to a Net Zero Home. There ends up being lots of dependencies when you try to optimize the work. Since I am a true “Penny Pincher” I really do not like wasting any extra money by having my plans sub-optimal. The downside of that is that I move much slower and should work on just pushing forward more.
As an example, one major dependency for me is that in Ohio, to install net metering with solar panels, your array cannot produce more energy (kWh) than you would consume. So, to get the number of panels I’ll eventually need, I must first switch over to electric power and start consuming that amount of electricity. I have started home charging an electric car which I drove 25k miles last year, so this helps get that consumption up. But, I’ll probably also need to switch my HVAC over to a Heat Pump prior to getting the solar panels.
Kitchen Before and After
I decided to take some “before” pictures of my kitchen. To make a somewhat reasonable comparison, I also cleaned up the kitchen a bit. I am super excited about how big of an improvement the kitchen will be after completing this work both in function and form. But just the same, I realized that my kitchen looks much better when I remove all the clutter and had a really big fear hit me.
What if it does NOT look better after my hours of work and thousands of dollars spent?
My answer, that question does not even matter at this point. In the very unlikely chance that I fall short of my expected result, I’ll just learn and move on. (Did I tell you that I recently learned that I am a Stoic?)
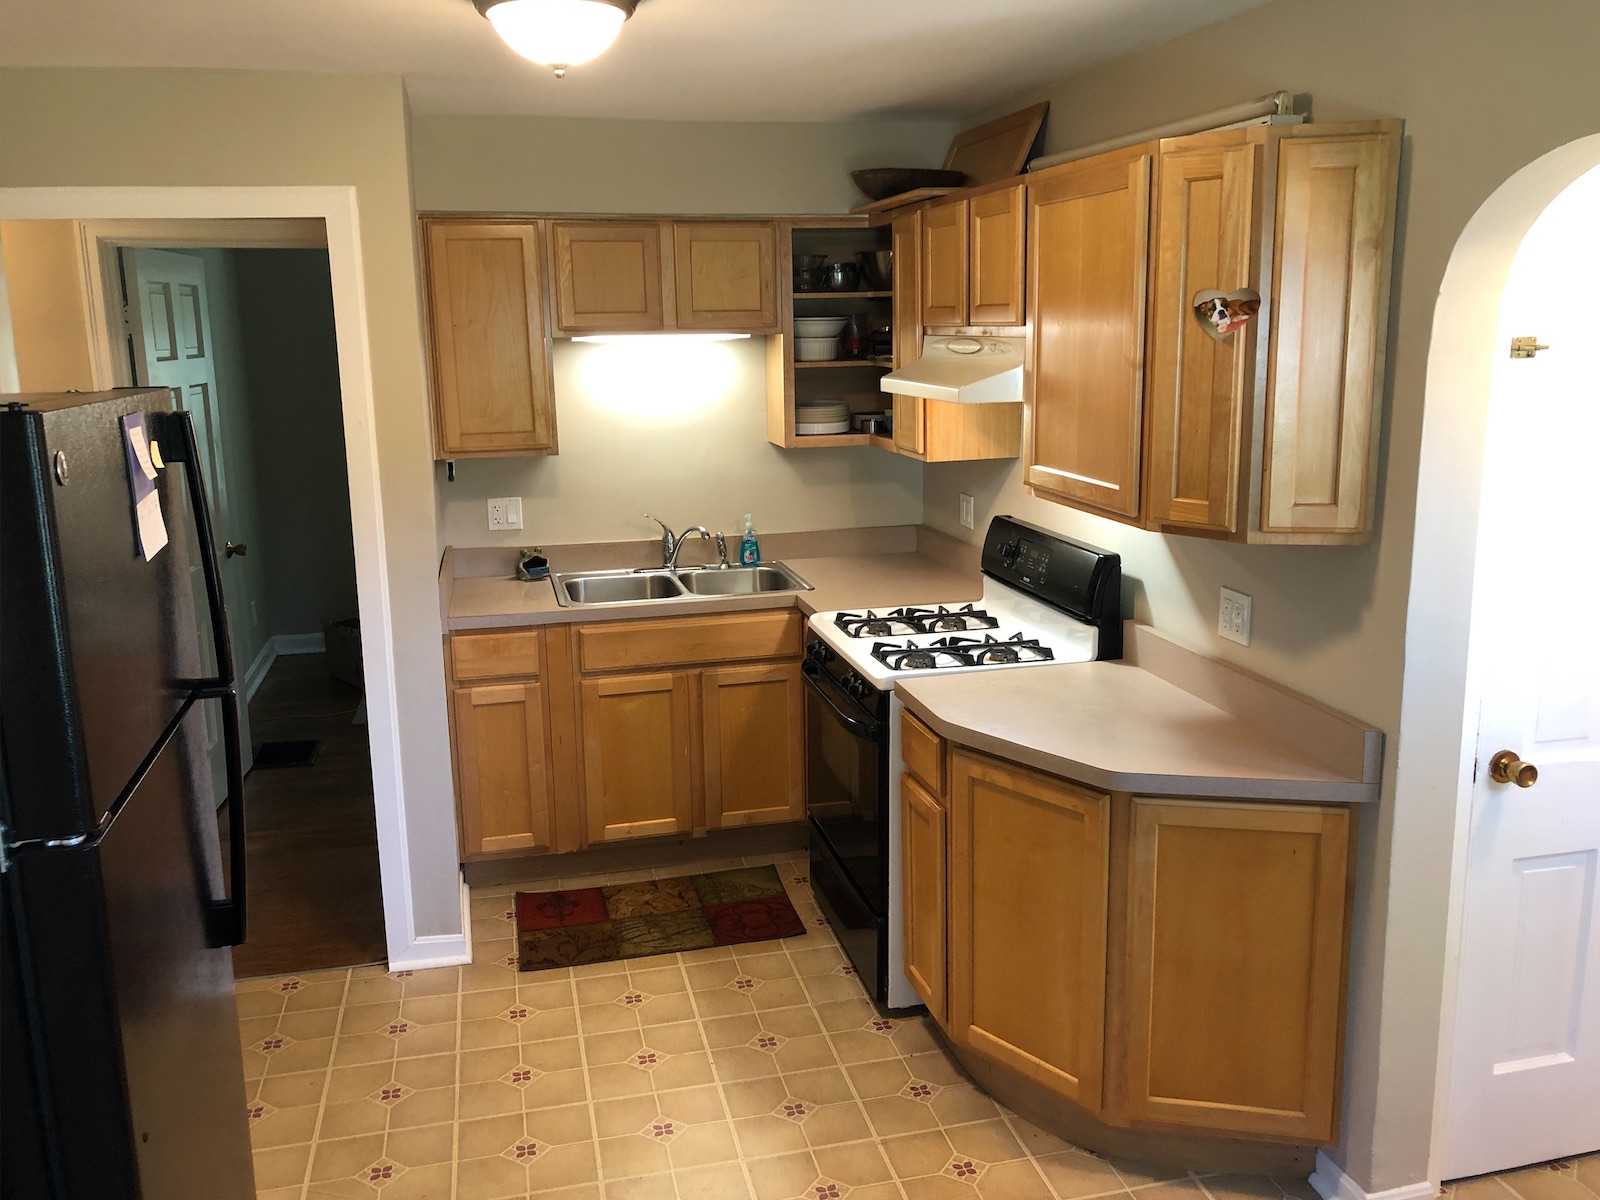

Many people may look at my before pictures and think, that is actually a pretty nice kitchen. Small? Yes, but looks pretty nice. I would agree, but let me list the planned upgrades:
- I guess should start with the fact that I’m removing the fossil fuel buring stove with an induction cooktop and a wall oven. It will be much more compact and match the small 2-bedroom house.
- I will be adding a dishwasher. Did you notice that there was not one? I’m fine without a dishwasher, but many people are not, so if I’m doing the work, I should squeeze one in.
- Add a convection microwave over the new cooktop. In today’s world, I think the microwave gets more use than any other cooking appliance. So I’ll add a very nice once AND get it off the counter top!
- Increase the counter top space by 50%. This one is hard to appreciate without living in this house. Currently, there is very limited counter top space, especially once you start adding STUFF to the limited available space. The additional space comes from two items mentioned above: range → cooktop and installing the microwave over the cooktop. But also, the end cabinets will get a more generous overhang and the sink basin size will be reduced. Additionally, the counter depth will be increased by 4″ at the sink and 1″ on the range side.
Design View: Old vs. New


With the old versus new, I think you can really see how much space the old gas range took up. There is a small drawback in the new design with the smaller single basin sink, but that one basin will be bigger than the old individual ones, and the new faucet is taller and has simpler look. Oh yeah, and I forgot to mention that I will under-mount the new sink.
I’m actually not a big fan of the under-mount sinks, but it will also contribute to more counter space and is what people today desire.
What work lies ahead?
I’m still waiting on appliances to show up. The microwave and dishwasher will be much delayed, but they are really the last things I need anyway.
I’ll need to create a custom cabinet for the wall oven. I have a base cabinet already in the garage and can start that work once the oven arrives next week.
There is lots of wiring to be done. I have an electrical permit open and will be installing 4 new circuits. One 240V 40A (8/3) for the cooktop + oven. One for the dishwasher (20A). One for the microwave (20A). Then, one longer run to the basement 240V 30A for the hybrid water heater.
There are some additional option items that I may or may not include later, but I’ll keep those to myself for now.
How was that first day?
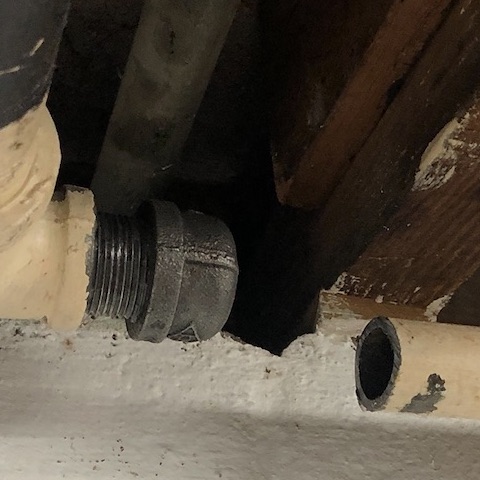
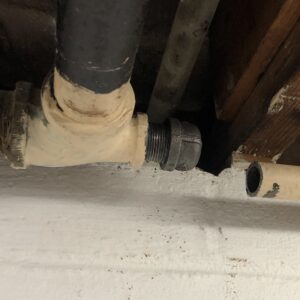
It was great to get started! It was a bit nerve-racking to remove the gas line. Not from a fear factor as I actually left this up to the professionals. And I was very glad to pay the $120 to have the gas line to the range cut and capped. Just from the fact that it is a bit of one step backward to get 2+ steps forward, and many people (with different priorities) probably think it was a stupid move.

I needed to take the gas supply pipe that went to the stove out so that made room for the new custom wall oven cabinet. It was a bit tight, but with a little extra elbow grease, I was able to unscrew that back pipe.
Trauma?
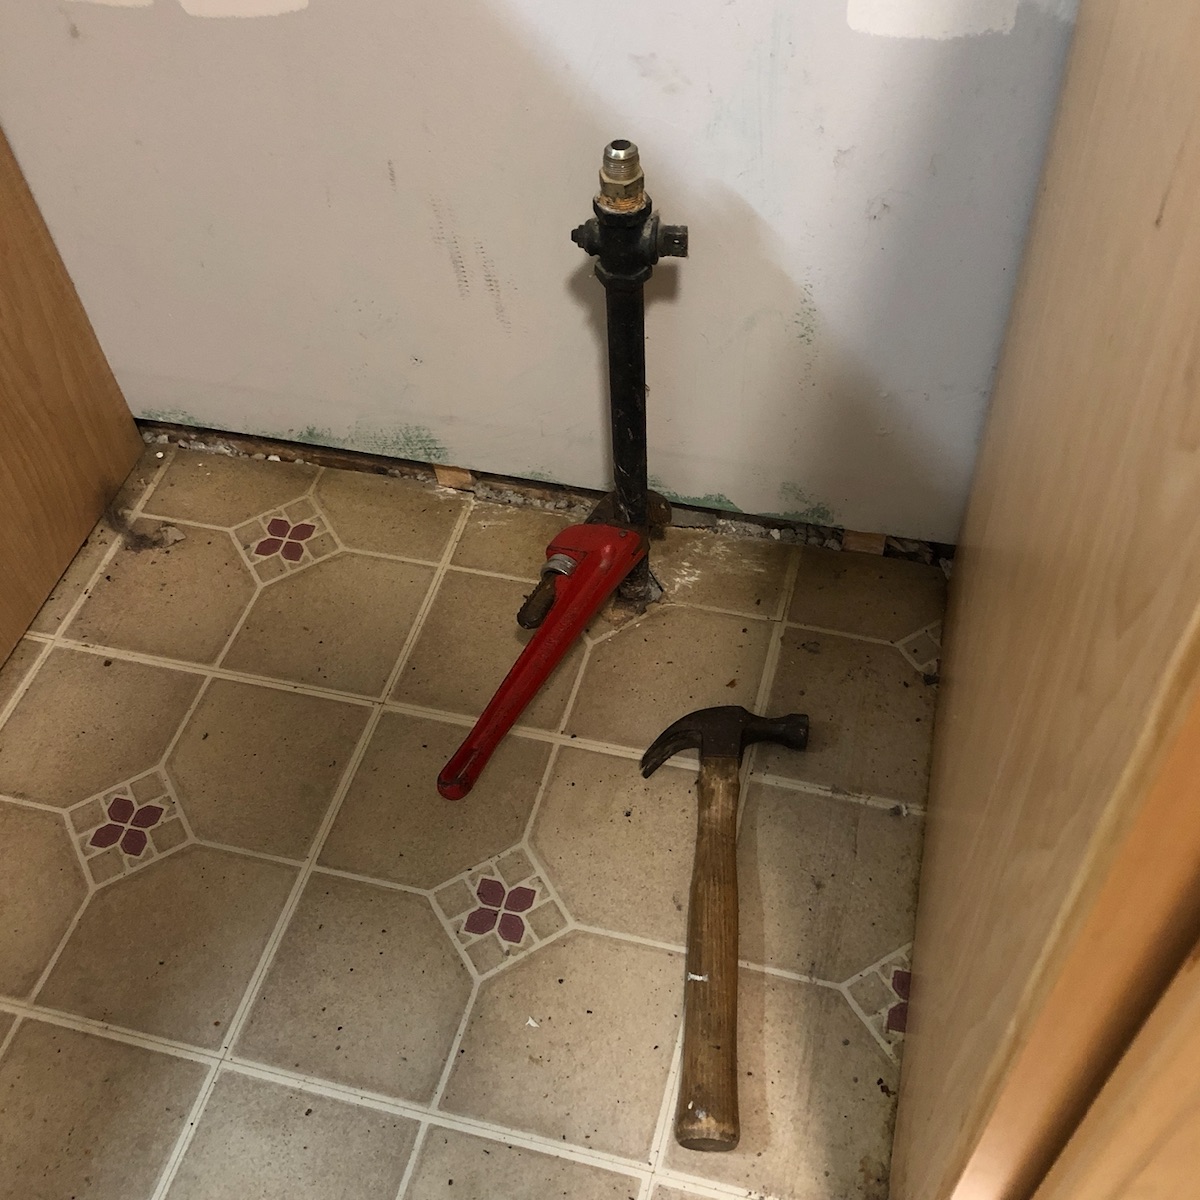
The more traumatic event was when I was trying to move the gas range to the garage.
I had done a bunch of measurements and decide straight through the garage door would be the easiest. I removed the handle and knobs, then loaded the range on the hand truck. The plan was to drop it down to the last step and then go to the garage to swing it around.
But as I ran around the house to the garage, I heard the range fall off the last step. It wedged itself in the available space.
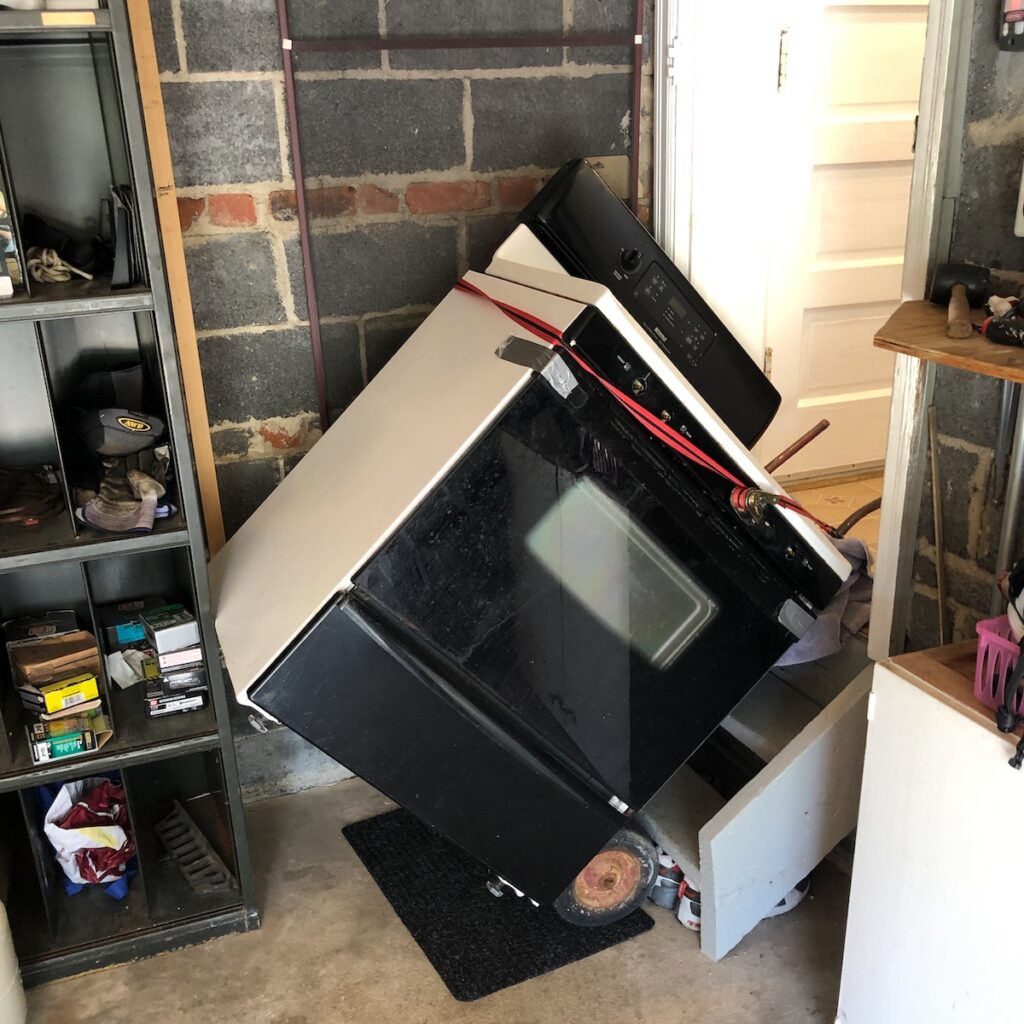
My first thought was to pull it back up and try again. But I quickly realized that between the range’s weight, the step, and the awkwardness of the situation, that was not going to happen without a good chance of me doing some permanent damage to myself.
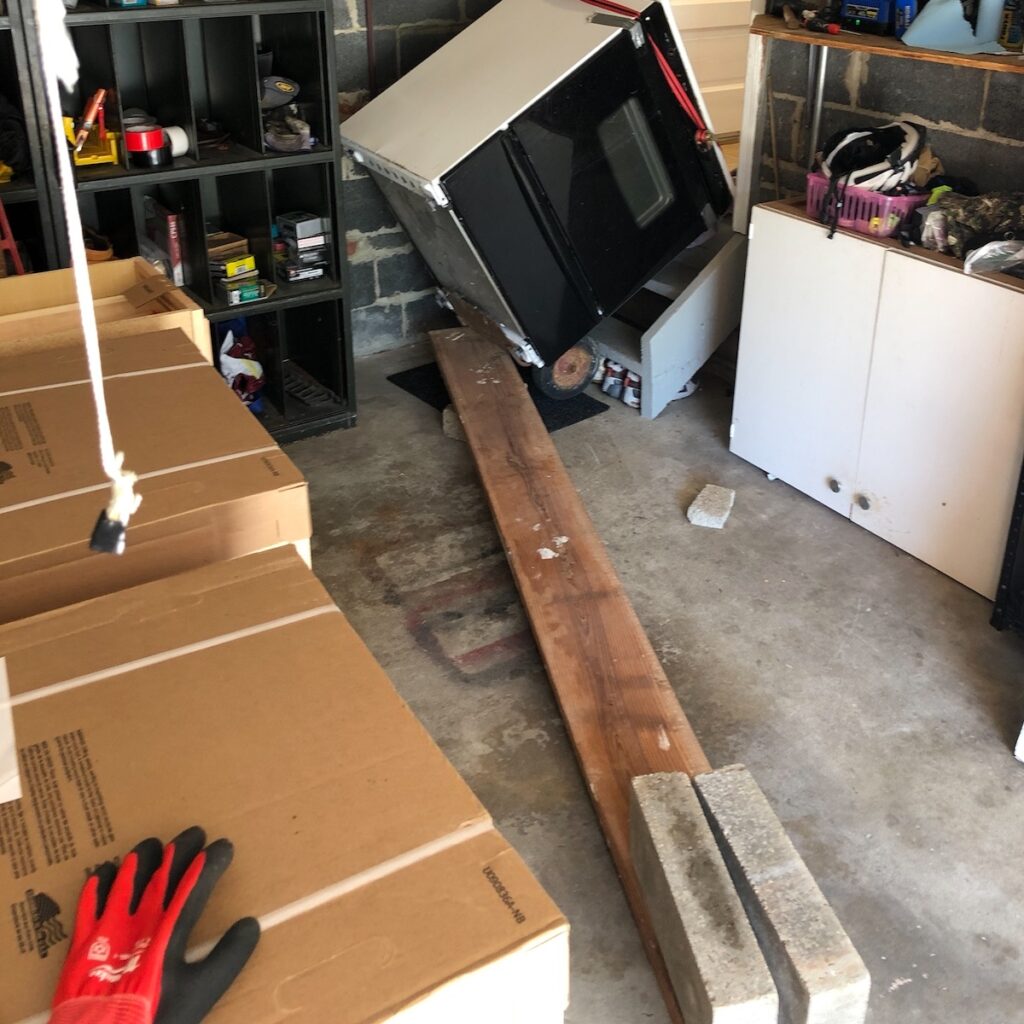
Luckily, Archimedes came to the rescue!
Give me a lever long enough and a fulcrum on which to place it, and I shall move the world.
All-in-all, an excellent first day!
Hey Eric! Looks pretty cool…
This is awesome! I love the pictures and seeing what you encountered as you went through the first day. It’s the next best thing to being there 🙂
The archimedes quote was a very nice touch!
I look forward to following your progress.
Sweet! Thanks for taking the time to check this out. I enjoy blogging about my work. Hopefully, I can do many more!
Looking forward to seeing the progress… and ready to help (as long as I doesn’t involve heavy lifting). 😀